Most of the things we make are flat - by the nature of the materials that we work from and the machines that we work with. But sometimes, you need to have two of the flat pieces at a right angle... to make something stand up. Like a sign...

This can't be too hard, right? Just cut a slot in the base, a tab on the sign, whack them together, and we're done, right? Right...?
So sure, you can just cut a slot and whack them together. But there are several things that can and do go wrong. We're not saying this isn't a valid solution to this problem, but there are some shortcomings.
Slot width. Let's say we're working with 3mm thick acrylic. All these materials are "nominally" 3mm thick. That actually means they can vary in thickness around this value. Manufacturers will have specifications for this, but ±5% isn't unusual, and we've seen up to ±10% on some sheets. So this means your acrylic sheet could be anywhere from 2.7mm to 3.3mm thick. So just cutting the slot at 3mm wide will sometimes result in a tight fit (or it won't fit), or it'll be loose in the slot.
Slot width, when doing a batch of signs. So that 3mm thickness, ±10%, actually varies across the whole sheet. So some parts could be 3mm, and then other parts of the sheet are 3.1mm thick! Generally we find that it's not too far off across the sheet, but it can be enough so that signs from another part of the sheet don't fit. This makes large batches of signs harder to produce.
Temperature. Turns out, materials expand and contract with temperature changes. The slot that you cut on that hot day at the workshop, will actually shrink a slight bit when your customer opens it in their air-conditioned house, or puts it in their fridge or freezer. If the slot was right on the edge, it could fracture the base when it shrinks.
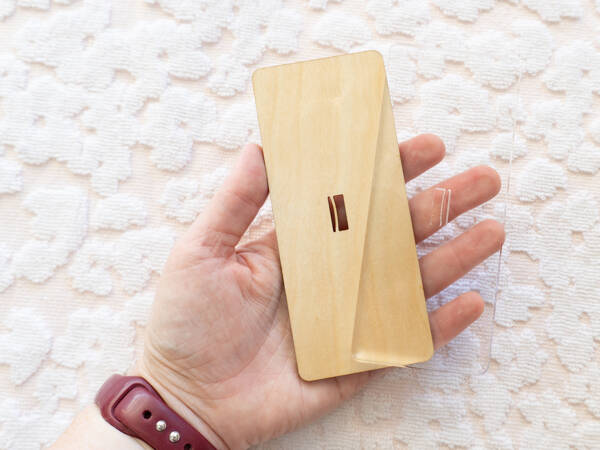
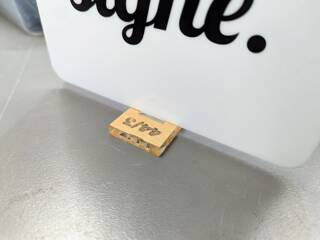
Here is a demonstration of a loose fitting slot:
It's still a workable solution. You can measure the thickness of the tab part of the sign after cutting, and then adjust the slot to fit and cut one for each sign. This is what we used to do! Using your calipers - and we recommend ones that go to two decimal places - you can measure the thickness of the tab. Then you also need to allow for the laser kerf - that is, the amount of material that the laser removes. Lasers are generally very accurate and have tiny kerfs in the order of 0.1-0.15mm, but it's enough that you'll need to account for it when adjusting your slot size. Each laser will vary slightly on how much adjustment you need to make. So you'll have to experiment to make it work with your machine.
Unfortunately for me, I'm a perfectionist. All that measuring and cutting and sometimes it still didn't fit tightly, or didn't fit at all because the sign was too thick, and having to do it for whole batches... there had to be a better way... so we can get consistent results!
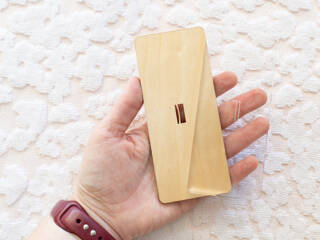
Acrylic, and the MDF veneers that we normally use, can be cut in a certain way to have a slight spring in them. With some careful drawing, it's possible to design a spring slot that can be cut into acrylic or MDF veneers, that can account for a small amount (0.2mm) of variation in thickness of the material.
.jpg?w=600&h=450&q=70&fit=crop&mask=corners&corner-radius=5)
.jpg?w=320&h=240&q=70&fit=crop&mask=corners&corner-radius=5)
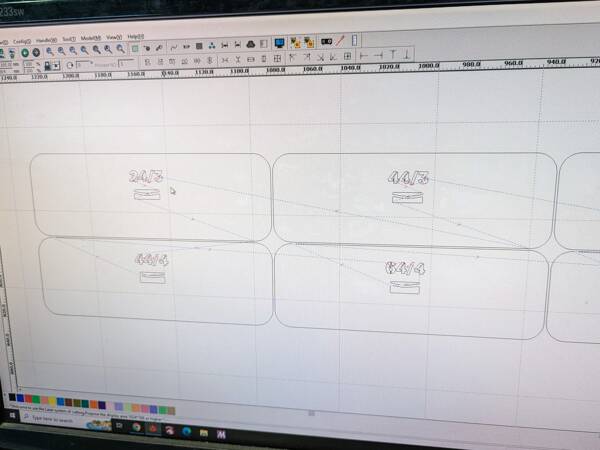
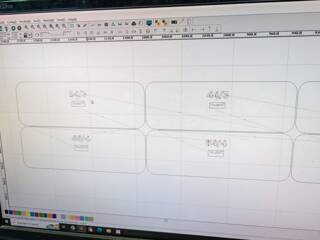
Once the basic design was created, it was expanded into several versions, each varying in width by 0.2mm. Then, we cut a series of test pieces describing the variations. When we have a sign we need to cut a base for, we take it to the test piece draw, and find the one that fits nicely on that sign base tab. Each test piece has a number which corresponds to it's size.
Then, it's back to the laser. Our artwork preparation system has an option to automatically insert spring bases. It detects slots in bases, and then writes out all the different variations into the production batch. We can then just pull out the one we need for this specific sign, cut it, and match it up.
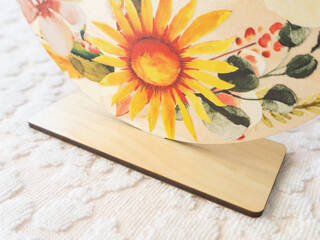
And then it results in a much more stable sign that you can pick up and keep the base with it:
So what's the advantage of these? Firstly, they account for the variations in thickness of the materials. Generally, with large batches of signs, we're finding that at most two different spring sizes are required to cover the whole batch. Much easier than measuring each one!
And secondly - because they spring and grab, you can pick up the sign by the sign component, and the base won't fall off - it'll come along for the ride. I mean, if you shake it hard enough, sure, the base will come off, but for normal moves, it's handy to keep them together!
So this actually took quite some time to design in the first place. There were several iterations to get the right strength. Originally, we had a series of different width versions for different tab sizes; but this got very difficult to maintain. Eventually, we standardised on having the tabs be 15mm wide, and just adding more than one tab if needed, if the sign was wide and needed extra support.
Then having the artwork preparation system be able to write out the spring bases was a huge help. Previously, we were pulling in the spring base geometry separately and matching it up on the laser cutter - time consuming to say the least!
We use these on a bunch of different products. Our room signs have the option of a freestanding base, which uses this mechanism to work. Our Dad Photo words also uses the spring mechanism to keep everything in place.
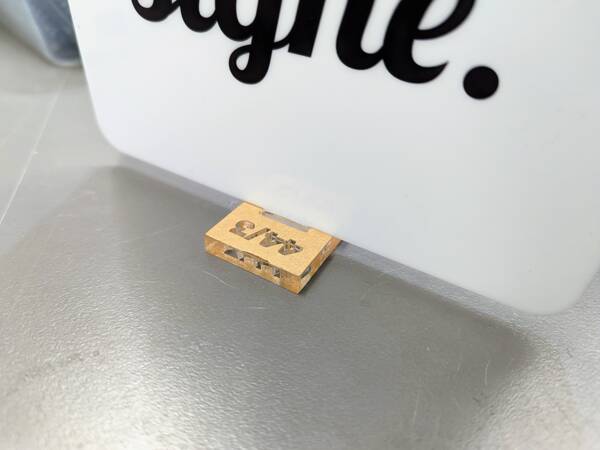
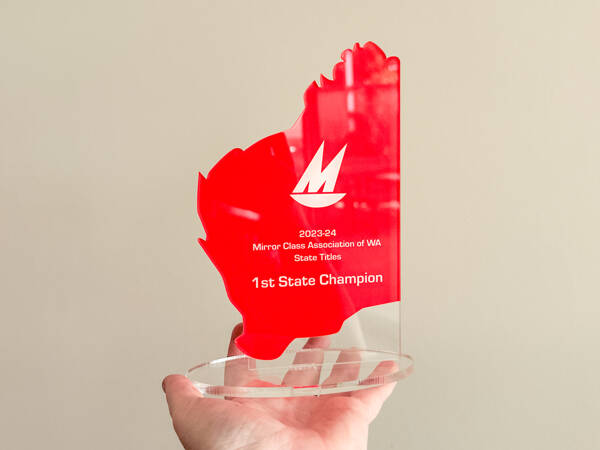
We also use it for a bunch of custom products, like these custom trophies that we make:

So... what sign would you like? Get in touch with us today and we'll make you some long lasting signs that are a delight to put together and use!
"A big shoutout to Foote and Flame who saved the day with reprinting our Daughters 21st Cake Topper because she has silly parents who left the original one at home which is 4.5 hours away. Thank you so much this was our third order with you well technically four now, fantastic service and recommend this local company to everyone. 🌟🌟🌟🌟🌟"